Radon gas is a natural, radioactive substance that can seep into homes from the surrounding soil, posing serious health risks when accumulated in high concentrations.
As radon exposure is linked to lung cancer, it is crucial for homeowners to take precautions to keep their indoor spaces safe. Installing a radon mitigation system is an effective way to combat this silent threat.
RHI Home Inspections partnered with Orr Environmental to explore the process of installing a radon mitigation system, providing you with valuable insights to ensure the health and safety of your home and family.
Initial Radon Testing
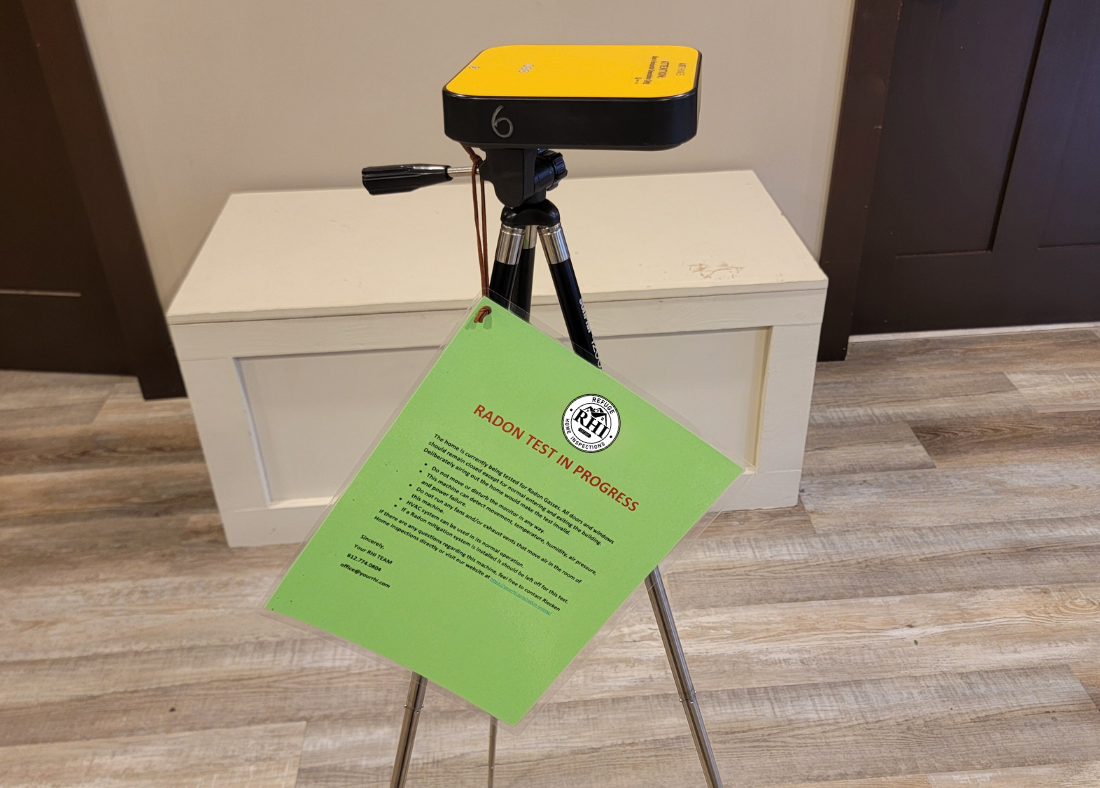
Before discussing the installation process, it is important to note that radon testing is the initial step to determine if your home requires a mitigation system. Homeowners can purchase DIY testing kits or hire professionals like RHI Home Inspections to conduct accurate testing. The results will give you a clear picture of whether or not you need a mitigation system.

Selecting and Customizing the System
Upon determining the need for a radon mitigation system, it’s time to select the appropriate system and customize it according to your home’s unique requirements. A professional radon contractor will consider several factors such as the home’s size, foundation type, and radon levels to design an effective mitigation plan.
Sump Pump or Sub-Slab Depressurization Method
The most common types of radon mitigation systems are sump pump and sub-slab depressurization systems. The method chosen depends on the foundation type of the home.
The first option is a sump pump system. If your home has a sump pump, a radon contractor will typically install a mitigation system that seals the sump pit and exhausts radon gases outside. This prevents radon from being released into your home.
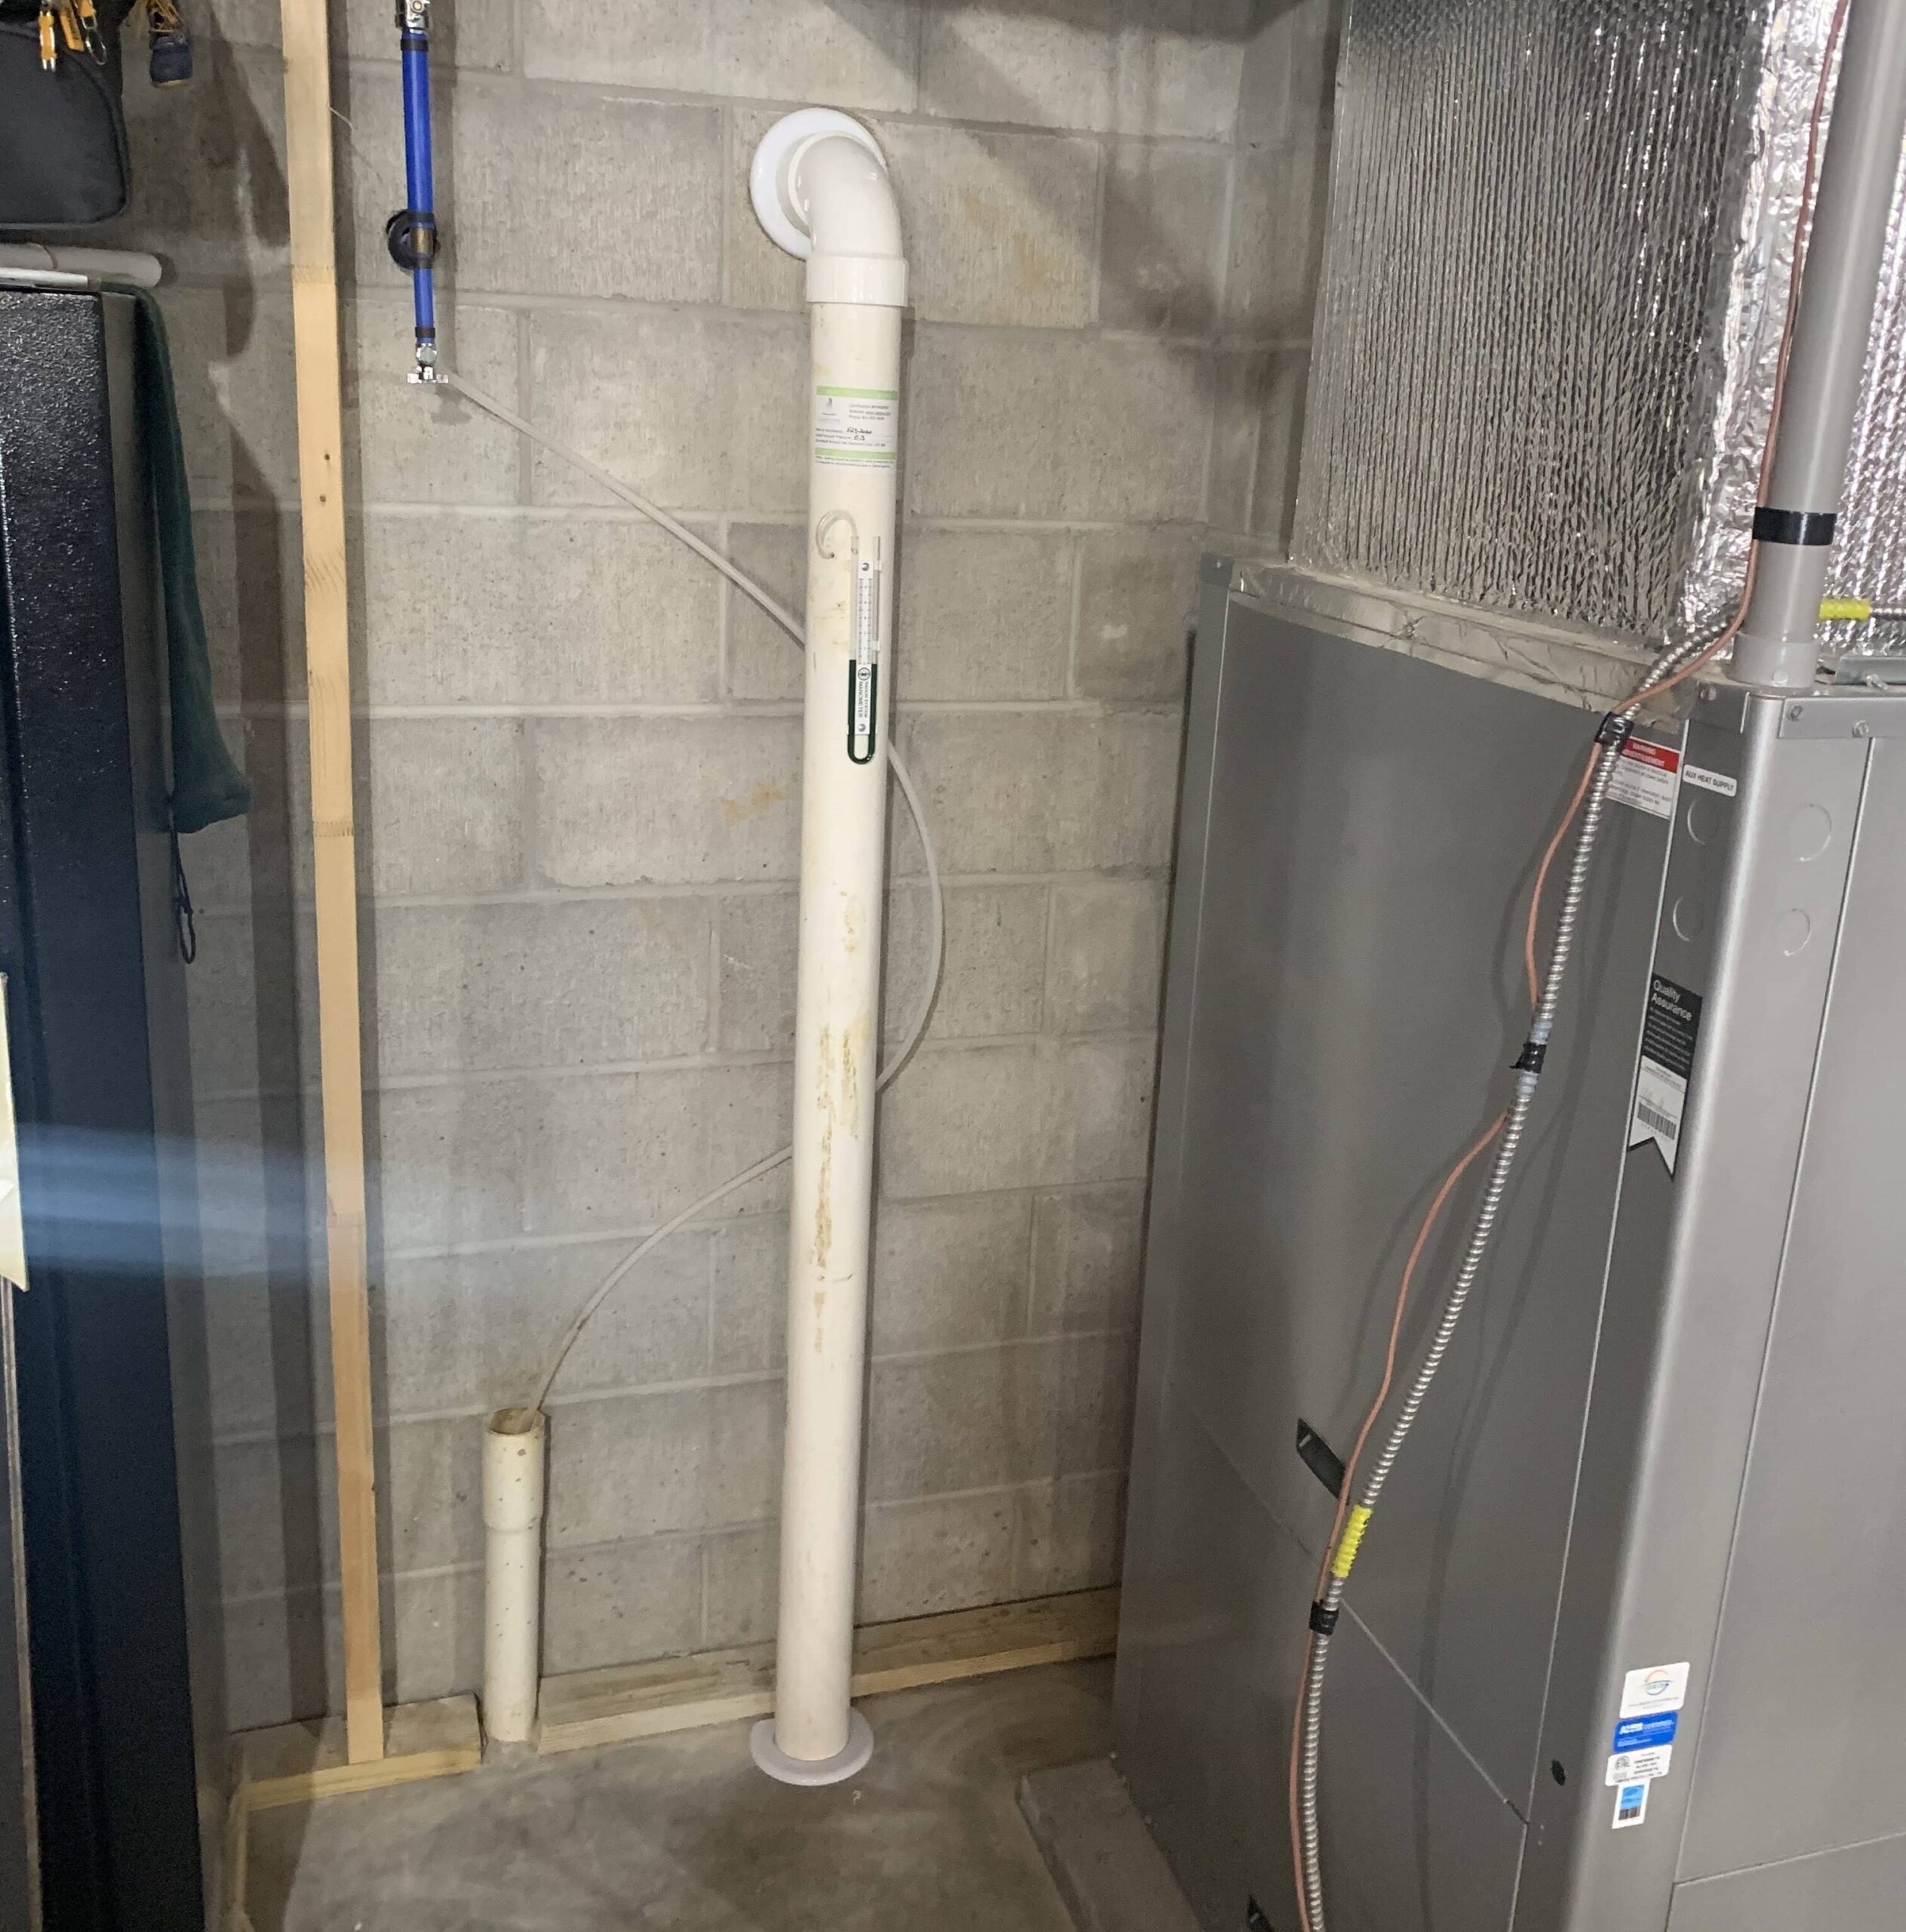
The second option is a sub-slab depressurization system. For homes without a sump pump, a more extensive installation process is required. This involves drilling a small hole in the basement floor, creating a suction point to remove radon gas from beneath the foundation. A ventilation pipe is then installed to redirect the gases to an exterior vent.

Sealing and Ventilation
Once the radon mitigation system is installed, the next step is to create proper seals and ventilation pathways. To effectively prevent radon gas from entering your home, any potential entry points, including cracks in basement walls and floors, are sealed off. The ventilation pipe, running from the suction point to an exterior vent, releases the collected radon gas into the outdoor air, ensuring a safer indoor environment.
Regular System Maintenance and Testing
While installation of the radon mitigation system concludes the immediate process, it is crucial to schedule regular maintenance and testing to ensure the system’s continued effectiveness. Regular checks will help identify any potential issues or malfunctions and guarantee your family’s ongoing protection.
Installing a radon mitigation system is a proactive step in safeguarding your home and prioritizing your family’s health. By selecting the appropriate system, customizing it to your home’s unique requirements, and adhering to regular maintenance protocols, you can effectively reduce radon gas levels ensuring a safe and radon-free indoor environment.
